How to Properly Adjust Your Dental Stool
- Feb 9
- 3 min read

How many hours do you sit on your dental stool? If we add it all up, we are spending hundreds of hours on our stools after just a few months. Are you sitting correctly? Do you have the stool adjusted to fit you? If not, you could be setting yourself up for pain, fatigue, discomfort, or even injury over time.
If you’re anything like how I used to be, you may take whatever stool the office has and try and make it work. I used to think all stools were the same, but it wasn’t until I started learning and ultimately teaching ergonomics that I realized how wrong I was. Stools are not one-size-fits-all (just like a pair of pants, right)? We are all different shapes and sizes, and our stool must be one that “fits” us, just like a perfect pair of jeans.
While there are many aspects to selecting the right stool, this article will guide you through a step-by-step process to adjust yours for maximum comfort and support. You can also view my video:
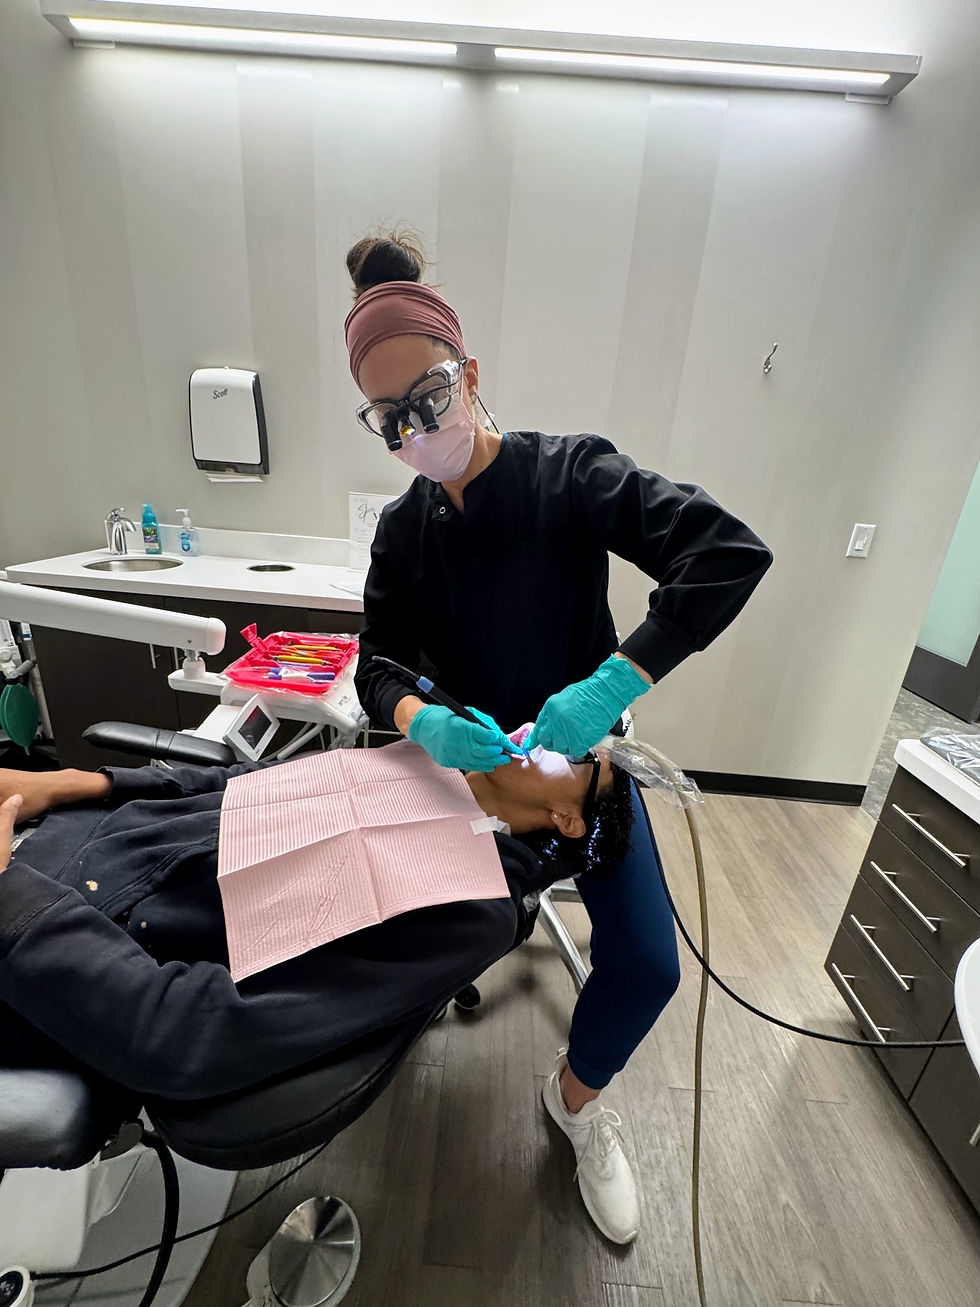
Since the stool will impact how we feel, our posture, and how close we can get to the patient, let’s start with the basics. The first step is the backrest. I use a saddle stool that doesn’t have a backrest, but some saddles and most traditional stools have them. We want that backrest to be pressed into the lumbar curve. It’s there to reinforce that curve and prevent it from flattening out. Many times, when people develop low back pain, it’s because this curve is starting to flatten out, which pinches the nerves between the spinal discs, causing pain. One reason why I like saddle stools is that they naturally support this curve, and many realize they don’t need the backrest when they switch to a saddle.
The next step concerns the seat pan. This is the part of the stool you sit on. You want this adjusted forward just a bit. This opens the angle of the hip. Many of us in dentistry have very tight hip flexors due to the prolonged time we spend sitting. You can see my quick video on tips for this here. Tipping the pan forward opens your hips, which also relieves pressure on the lumbar spine. Don’t tip it so much that you feel like you will fall forward; this is a very small adjustment.
Next is the height. You want to sit high enough so your hips are above your knees. What we don’t want is the thighs parallel to the floor with a 90-degree angle between our torso and legs (this is how I was taught, but have since learned this isn’t the optimal way to sit).
I prefer clinicians to sit as high as possible comfortably. This is yet another reason why I prefer saddles; they are easy to “sit high” on. The benefits of elevated seating are, again, opening up the hips, but this also gets your legs out of the way, therefore allowing you to get nice and close to the patient. No more legs jutting out in front of you, hitting the patient chair, and preventing you from getting close.
The last step is your feet. You want them flat on the floor, not crossed, not up on the casters of the stool, but firmly planted on the floor. You want your feet and rear end to be a tripod, with your weight evenly distributed between all three.
Seating is a crucial, yet often overlooked, aspect of ergonomics and posture. I learned much later in my career how important this is for us, and wish I had known years earlier. Developing good ergonomic habits early on, like proper seating, will ensure your health, longevity, and will enable you to stay in the career you love.
To learn more about stool adjustments, clock positions, standing dentistry, and more, check out my on-demand video based course on Operator Positioning.


Why don’t you want your thighs parallel the floor? I was taught that way as well.